Erase a Part of a PNG
Simplify your text tasks with three simple steps, Free!
"Erase a Part of a PNG" is a versatile text manipulation tool designed to quickly remove any section of a PNG image, preserving transparency in the process. This tool is ideal for designers who need to edit images without losing the transparent background, making it perfect for creating clean logos, modifying product designs, or refining website graphics with ease and efficiency.
Input Text Lines
Drag and drop your file here
png, jpg, webp, avif
Text with Result
Tool Options
What Is a Erase a Part of a PNG?
Erase a Part of a PNG tool allows you to remove unwanted elements from a PNG image while preserving its transparency, making it ideal for tasks such as removing backgrounds or editing images with complex backgrounds. This is particularly useful when you need to focus on the main subject without distractions, such as in product photography or when creating visual content for social media. By using this tool, you can enhance the clarity and aesthetics of your images, ensuring they are more effective in marketing materials or web design. For instance, if you have an image with a model holding a product against a busy background, erasing the distracting elements will make the product stand out more prominently, improving the overall visual impact of the image.

Erase a Part of a PNG Examples
Click to try!
Quickly Erase PNG Backgrounds Easily
To use the 'Erase a Part of a PNG' tool on an image of a sunflower, select the area you want to remove by clicking and dragging over the petals or other parts. This can be particularly useful for highlighting specific features, such as isolating the center from the petals, making the image more focused or creating a unique design element. The result will be a clean-edged removal, preserving the transparency of the PNG, allowing for seamless integration into other designs or backgrounds.

Highlight Sunflower Center
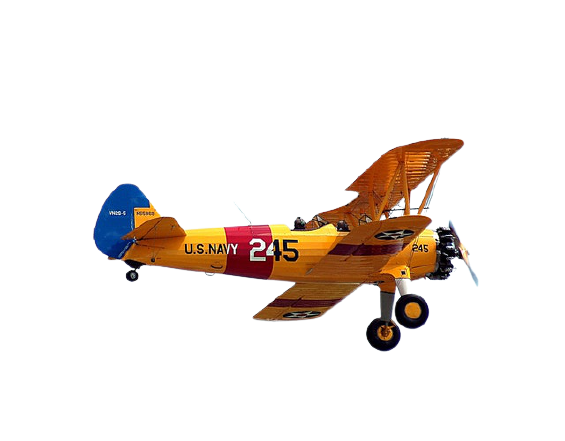
When using the 'Erase a Part of a PNG' tool on an airplane image, select the area you wish to remove by clicking and dragging over parts like the wings or tail fins. This allows for highlighting specific sections such as the cockpit or landing gear, making the image more focused or suitable for a particular design need. By erasing these elements, you can create a clean-edged removal that preserves the transparency of the PNG, enabling seamless integration into other images or backgrounds, thus enhancing your overall design project.

Remove Plane Wings for Seamless Design Integration
When using the 'Erase a Part of a PNG' tool on an image of a coffee cup, select the area you wish to remove by clicking and dragging over parts like the handle or the saucer. This allows for precise removal of unwanted elements, making the design more focused on the cup itself. By erasing these areas, you can create a clean-edged silhouette that preserves transparency, enabling seamless integration into various backgrounds or designs, such as advertising or product illustrations, to highlight the coffee cup prominently.
